Film editing is where attractive footage either becomes a story or quietly falls apart. AI video tools can generate a striking hallway, a slow push toward a face, or a convincing storm in seconds. None of that guarantees a usable sequence. The real work begins when those clips have to share screen direction, pacing, sound, color, and emotional purpose. I approach AI-assisted projects the same way I approach documentary footage: the demo looks good, and now we need to see if it survives the edit.
Why film editing still needs a human eye
A generated clip often arrives without the practical context an editor normally receives from a camera crew. You may not know the intended lens, the exact camera height, or whether the movement was designed to connect with the shot before it. That uncertainty makes film editing less about collecting beautiful moments and more about building relationships between them.
Start by writing the job of each shot in plain language. “Establishes the empty station” is useful. “Looks cinematic” is not. Once the purpose is clear, judge the clip for entrance, exit, movement, eyeline, and available handles. A five-second generation may contain only two seconds worth keeping after a hand bends strangely or the background shifts. Mark those limits before arranging a sequence.
This is also why I do not treat AI generation as a replacement for storyboarding. A thumbnail board can reveal that you have six impressive close-ups and no functional wide shot. It can show that every character faces the same direction, or that the emotional progression jumps from calm to panic with nothing in between. Film editing exposes those gaps faster than a prompt window does.
A film editing workflow for AI-generated footage
The most reliable workflow begins before generation. Create a short brief containing aspect ratio, frame rate, color intention, subject details, location, and the emotional beat. If you are making a 90-second YouTube essay, do not generate random “cinematic” shots first. Decide whether you need a visual hook, evidence, a transition, or a quiet moment under narration.
Generate in small batches and label everything immediately. A useful filename might be “station_wide_dawn_take03” rather than “runway-final-new2.” Save the prompt, model, duration, and any settings in a simple spreadsheet. This sounds administrative, but it turns film editing into a repeatable process. When a successful shot needs a matching insert, you can return to the same visual language instead of guessing.
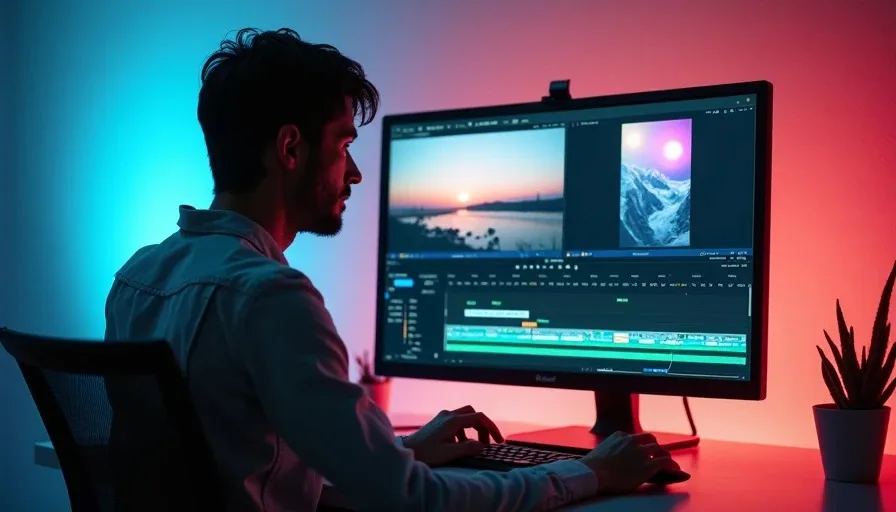
Bring the material into Premiere Pro, DaVinci Resolve, or Final Cut Pro alongside your voiceover, practical footage, and music. Build a selects timeline before polishing anything. In Resolve, colored markers can separate usable shots, continuity problems, and shots that are visually strong but narratively unnecessary. Descript can help locate spoken phrases in interviews, while transcription tools can accelerate the first assembly; they should not decide which pauses carry meaning.
Keep generated clips on their own labeled tracks. That makes it easier to compare them with phone footage, camera originals, screen recordings, or stock material. It also prevents a temporary AI shot from becoming invisible in the project and surviving simply because nobody remembers where it came from.
Continuity is the quiet test of film editing
Continuity problems are often more damaging than obvious visual glitches. A character who holds a cup in the left hand in one shot and the right hand in the next may distract viewers before they can explain why. The same is true of changing shadows, inconsistent wardrobe, impossible reflections, and a camera move that reverses direction between cuts.
Use screen direction as a basic safety rail. If a subject travels left to right in a sequence, preserve that direction unless you deliberately show the crossing. Match the size and angle of adjacent shots, too. Cutting from a low-angle medium shot to an unrelated overhead view can feel like a mistake when the story has not earned the change.
For AI footage, continuity sometimes requires generation rather than trimming. If the only usable section ends before a character completes an action, extending it may produce a better bridge than cutting abruptly. Other times, the smart choice is to hide the mismatch with a reaction shot, environmental detail, title card, or sound-led transition. This is where the tool helps—and where it quietly hands the problem back to you.
Sound gives weak pictures somewhere to stand
Many creators evaluate film editing with the monitor muted, then add a music track at the end. I prefer watching the first pass with sound off because it reveals weak visual storytelling. After that test, I build the audio structure early. A door latch, train brake, room tone, breath, or distant siren can connect two shots that do not perfectly match.
Do not use music to disguise every bad cut. A rising track can create energy, but it cannot repair an unclear action or an unmotivated change in location. Record or design a small library of room tones, footsteps, cloth movement, and impacts. Even inexpensive royalty-free libraries can give an AI sequence physical weight.
Voiceover deserves clean space. Lower music under speech, remove distracting low-frequency rumble, and leave intentional pauses intact. In a short documentary, the half-second before a subject answers may communicate more than another generated establishing shot. Strong film editing listens for those moments instead of filling every gap.
A practical AI film editing checklist
Before exporting, watch the entire cut once for story and once for technical mistakes. On the story pass, ask whether the opening creates a question, whether each shot changes the viewer’s understanding, and whether the ending lands instead of simply stopping. Remove any clip that exists only because it took time to generate. Sunk effort is not a reason to keep a shot.
On the technical pass, check frame size, frame rate, dialogue levels, captions, and music rights. Look closely at hands, text, faces, reflections, and fast movement. AI-generated signs and interface screens often contain unstable lettering, so replace them with clean graphics in the editor. If a shot is meant to appear documentary-real, decide whether a visible artifact undermines that promise.
Export a review file before making the master. Watch it on headphones, a phone, and a normal computer display. Ask one trusted viewer where attention drifts. Their answer may reveal that the second generated shot repeats information already established, or that the quiet middle needs a stronger visual turn. This practical film editing review is usually worth more than another hour of prompting.
Choosing tools without losing the craft
Premiere Pro is a strong fit for creators already working in Adobe’s ecosystem, while DaVinci Resolve is attractive when editing, color, audio, and visual effects need to live in one application. Final Cut Pro remains a fast option for many Mac-based workflows. The best choice is not the tool with the most dramatic demo; it is the one that lets you find, compare, trim, version, and export material without friction.
For generation, test tools such as Runway or Kling on a defined shot list rather than an open-ended montage. Compare motion stability, character consistency, camera control, image quality, generation limits, and the amount of cleanup required. A lower-cost plan that produces three usable shots can be better value than a flashy system that produces twenty clips you cannot cut together.
The same rule applies to film editing assistants. Automatic scene detection, transcript search, silence removal, and caption generation can save real time. They remain suggestions, not authors. Let software handle repetitive sorting so you can spend attention on structure, performance, rhythm, and the ethical question of whether a synthetic image belongs in the piece.
A good shot is not just generated. It is chosen. That choice depends on what happens before it, what follows it, and what the audience should feel when the cut arrives. Use AI to widen the material available to you, then use film editing judgment to narrow it into something coherent. The finished work should feel directed, not merely assembled.