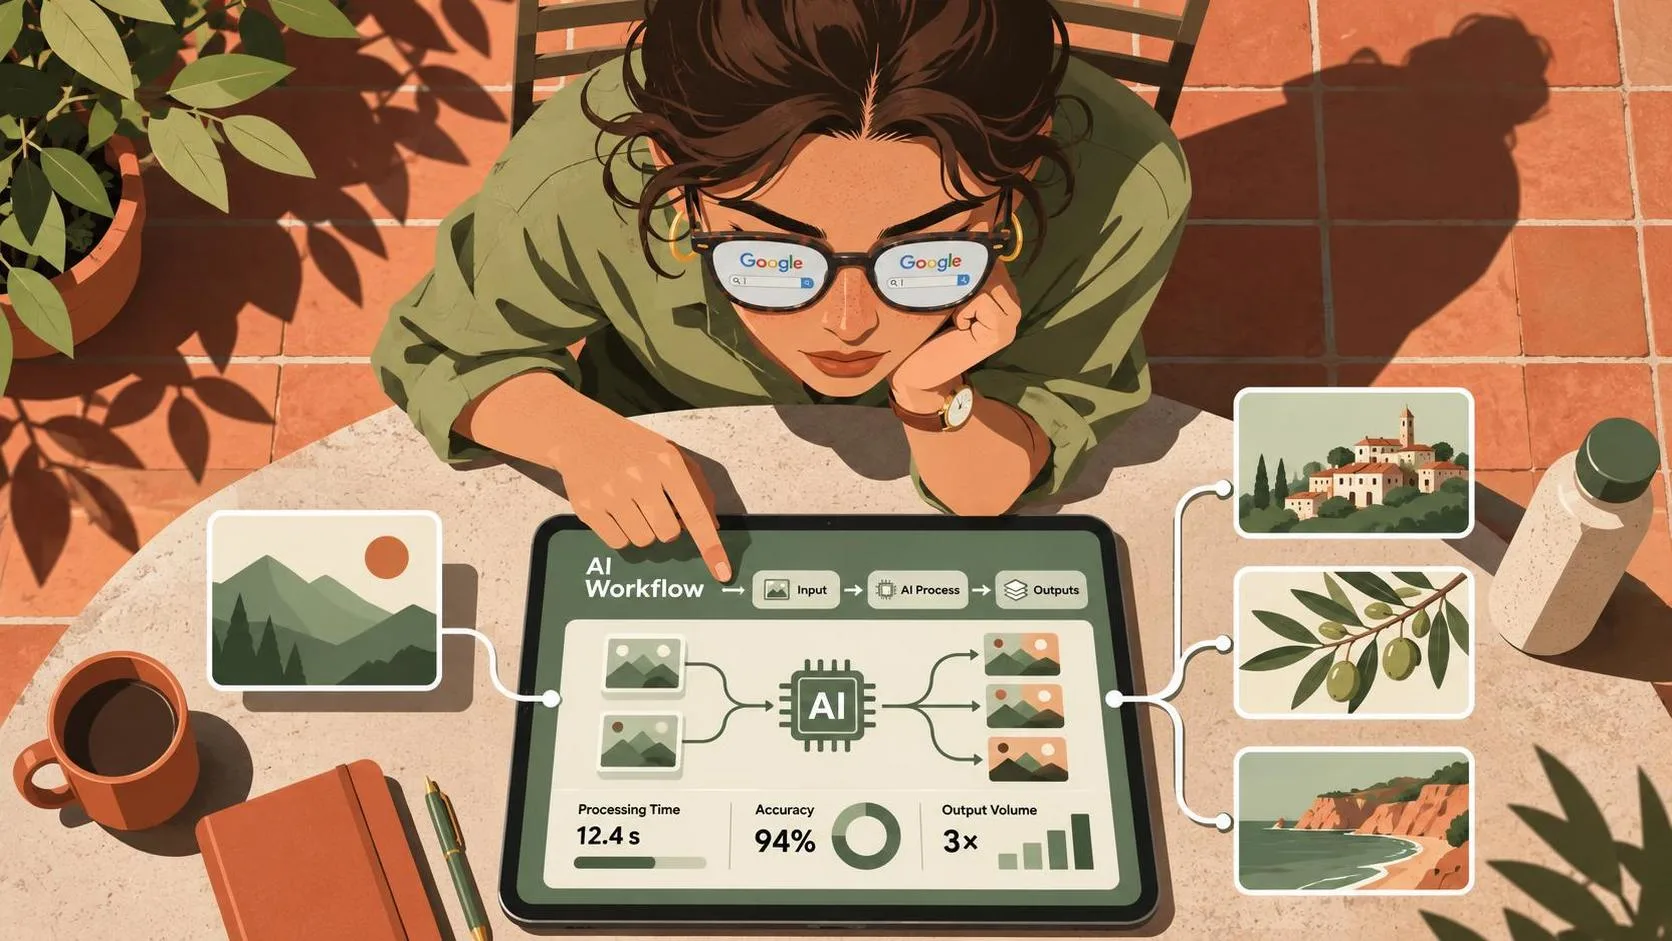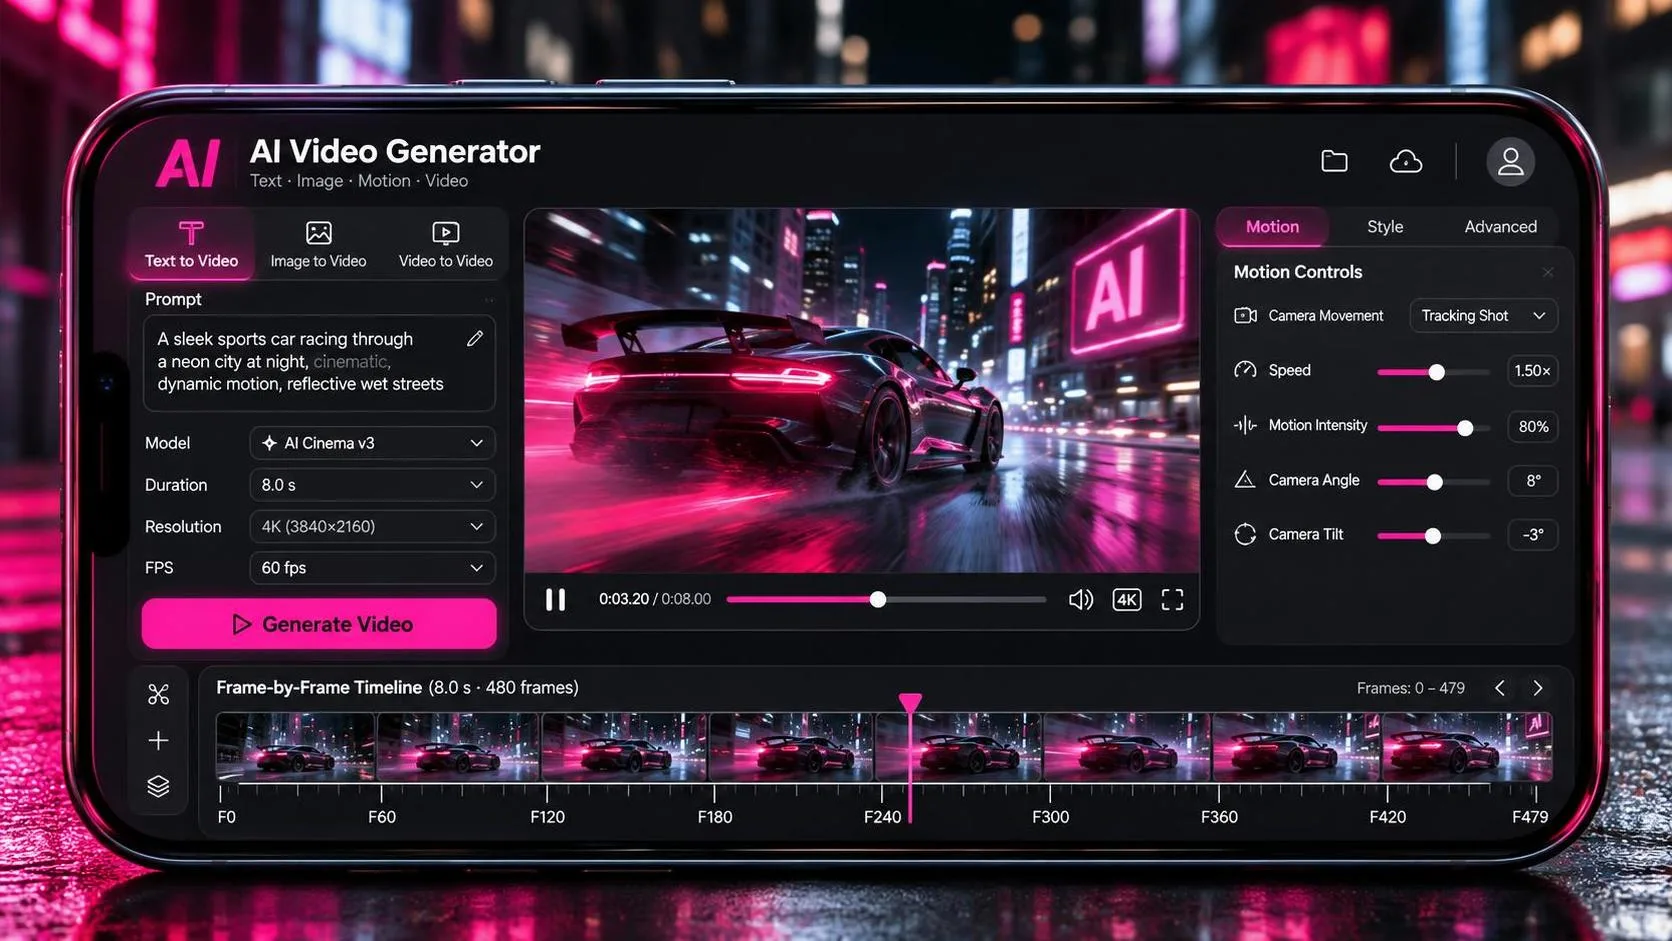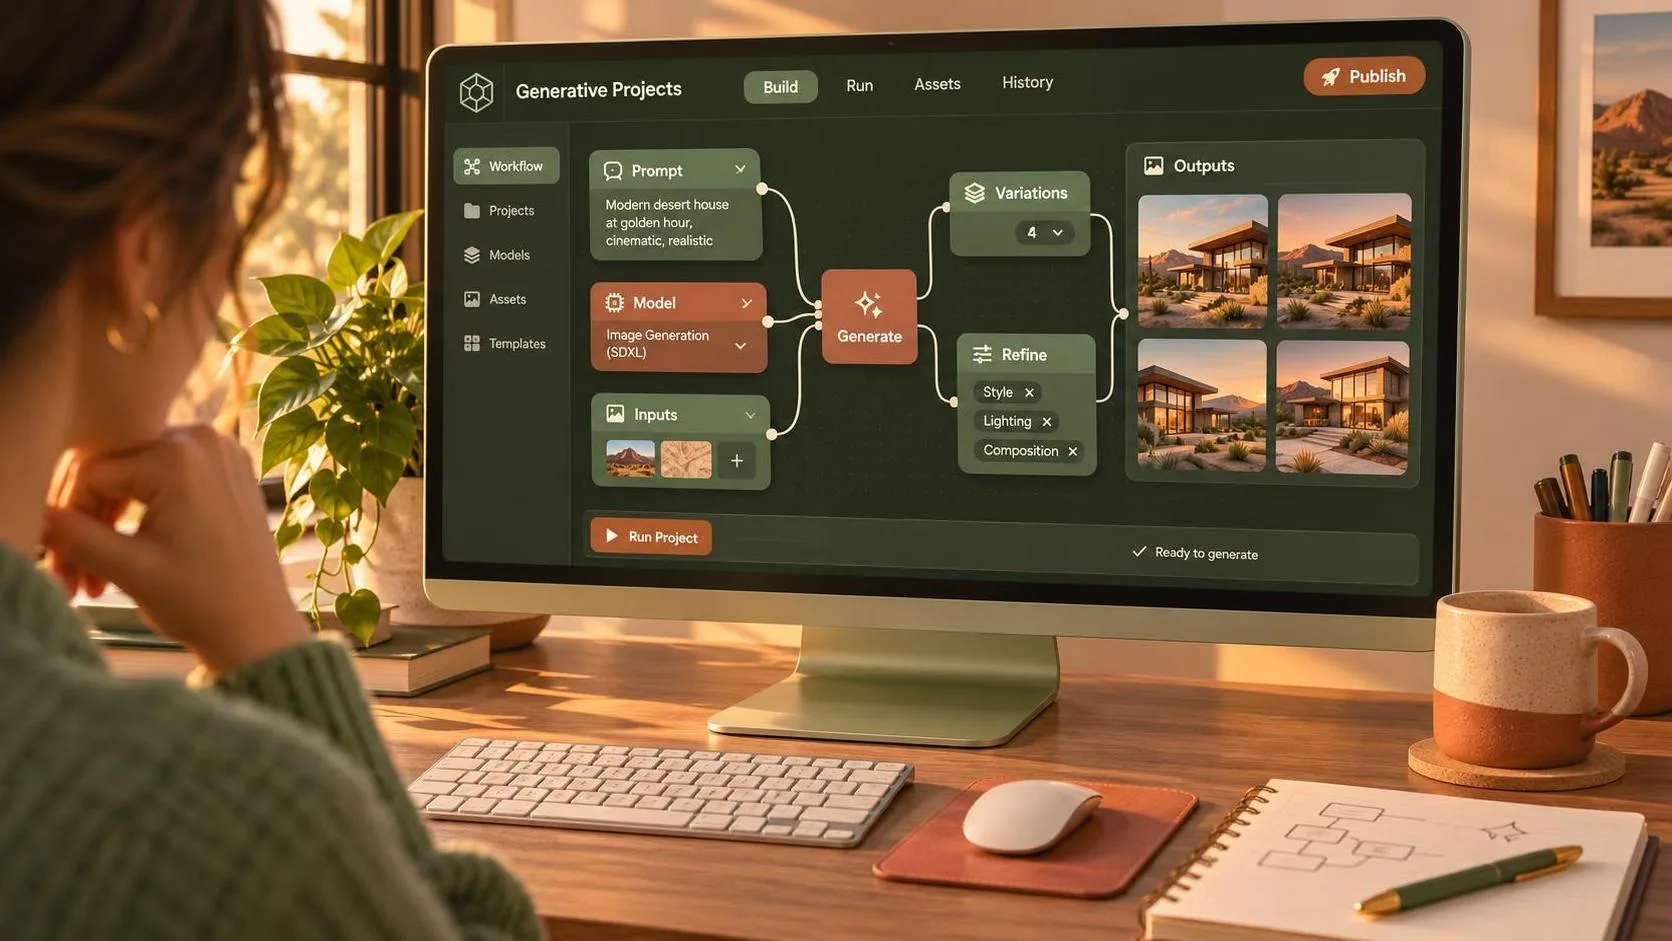
ComfyUI AI can feel like opening the back of a camera and finding every gear, wire, and circuit exposed. That is intimidating if you want a finished shot today, but it is also the reason this tool matters. Instead of hiding the generation process behind one prompt box, ComfyUI lets you build a repeatable workflow from models, prompts, samplers, control images, upscalers, and output settings. For independent filmmakers, that control can be more valuable than a flashy five-second demo.
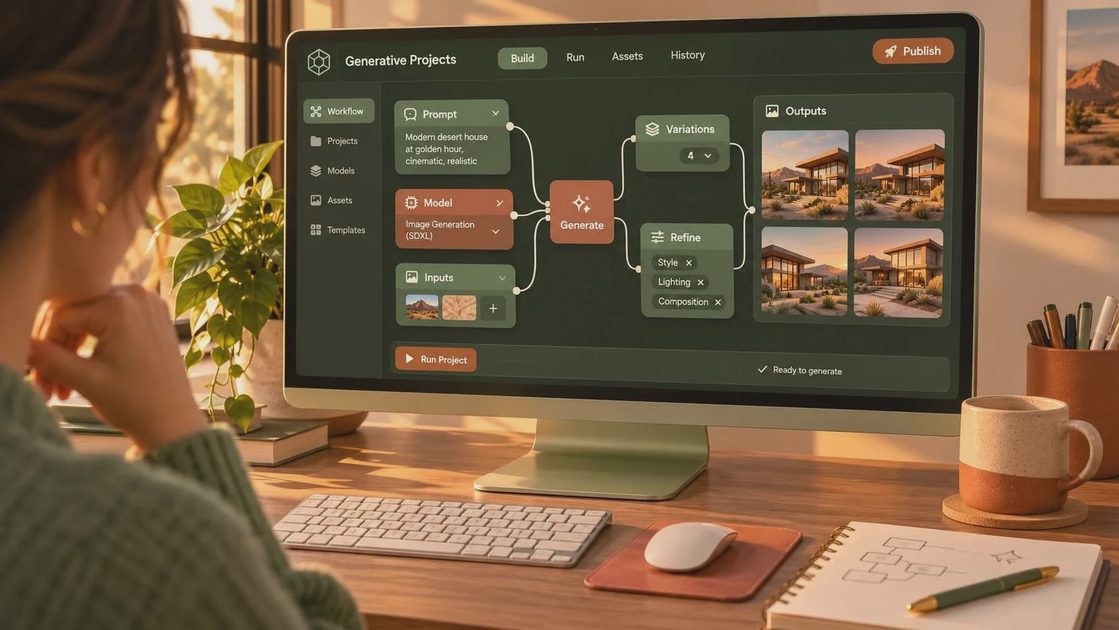
The basic idea is simple: you connect visual tasks as nodes in a graph, then run the graph to produce an image or sequence. The challenge is learning which decisions affect composition, character identity, motion, and consistency. A good shot is not just generated. It is chosen, revised, and placed beside the shots around it.
What ComfyUI AI actually does
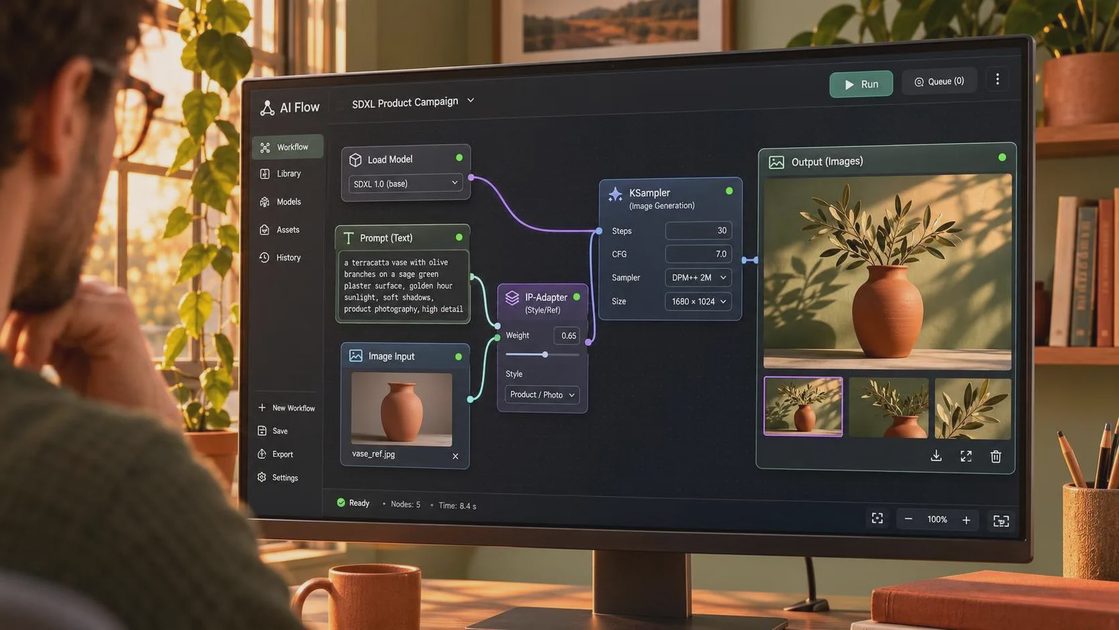
ComfyUI AI is a node-based interface for running generative image and video models, especially within the Stable Diffusion ecosystem. A typical graph might load a checkpoint, encode a text prompt, create latent noise, sample an image, decode the result, and save the file. You can then add nodes for ControlNet, reference images, face detail, masking, or image-to-image changes.
That modular structure makes it different from tools such as Runway, Pika, or a simple hosted image generator. Those services often make the first result easier. ComfyUI makes the process more inspectable. If the subject drifts, you can examine the conditioning. If the image is too soft, you can change the sampler, resolution, or upscale stage instead of throwing away the entire attempt.
This flexibility is most useful when you have a visual target. Imagine a documentary-style insert of a cyclist moving through a rainy Minneapolis street. You might use one reference image for the coat, a depth map for the street perspective, and an animation workflow for subtle movement. The result still needs editorial judgment, but the graph gives you more ways to preserve the intended shot.
Hardware, installation, and realistic costs
ComfyUI AI runs locally, which means your computer matters. A modern NVIDIA GPU with substantial VRAM is the most straightforward route because many community workflows are built around CUDA support. Eight gigabytes of VRAM can handle smaller image workflows with careful settings, while 12 to 24 GB gives you more room for larger models, video nodes, and higher resolutions. System RAM, storage speed, and cooling also affect how pleasant the process feels.
Installation usually involves downloading the application, placing model files in the correct folders, and adding custom nodes when a workflow requires them. That last step is where beginners lose time. A graph can fail because one node is missing, a model is named differently, or a dependency was not installed. Keep a clean project folder, record model versions, and avoid adding ten experimental extensions before your first successful render.
Local generation is not free. Electricity, storage, and hardware depreciation count. A workstation upgrade can cost $700 to more than $2,000, while cloud GPU services charge by usage and can be cheaper for occasional projects. If you only need a few concept frames each month, renting compute may make sense. If you iterate every day, local hardware often becomes easier to justify.
Building a workflow that survives the edit
The strongest ComfyUI AI workflow begins with the edit, not the prompt. Decide the shot size, duration, aspect ratio, and transition before generating. A close-up of a hand opening a metal case needs different control than a wide establishing shot of a train platform. Write down what must remain stable: subject clothing, screen direction, lens feel, lighting direction, and background geography.
Start with a simple text-to-image graph. Generate several compositions at a manageable resolution, then select the frame with the clearest silhouette and most useful negative space. From there, use image-to-image rather than restarting from text every time. Lower denoise settings can preserve structure, while higher settings allow more dramatic changes but increase the risk of identity and layout drift.
For controlled blocking, add a pose, depth, or edge guide. These tools are not magic continuity locks, but they can keep a body facing the right direction or maintain a recognizable building shape. Test one variable at a time. If you change the checkpoint, prompt, control strength, and sampler together, you will not know which decision improved the shot.
Prompts are direction, not the whole production
ComfyUI AI rewards prompts that describe observable filmmaking choices. Instead of writing “cinematic woman in a city,” specify a medium close-up, shoulder-level camera, wet pavement reflections, soft overcast light, shallow depth of field, and room on the left for an edit point. Mentioning a 35mm lens can suggest a visual character, but it does not guarantee accurate optics.
Negative prompts can reduce common problems such as extra fingers, warped text, or plastic skin, although they are not a substitute for selection. For video, consistency usually requires more than beautiful language. Use a reference frame, stable seeds where appropriate, controlled motion, and short shots that can be cut around weaknesses.
The demo looks good. Now let us see if it survives the edit. Watch the clip without music. Does the movement have a beginning, middle, and end? Does the eyeline make sense next to the previous shot? Does the subject’s hand change shape during the action? If the answer is no, a second generation is not always the solution. Cut earlier, hide the transition with sound, or shoot a practical insert.
Where ComfyUI AI helps most
ComfyUI AI is particularly strong for previsualization, mood frames, title backgrounds, set extensions, and controlled still-image assets. A director can explore three lighting approaches before renting fixtures. An editor can test whether a transition needs a bright flash, a foggy landscape, or a graphic texture. A small agency can create a consistent visual direction for a pitch without commissioning a complete shoot.
It can also help with repeatable variations. Once a graph is working, you can swap prompts, references, or seeds while preserving the larger process. That is useful for storyboards, thumbnails, poster concepts, and alternate frames. The time savings appear after the setup, not during the first ten minutes. Expect to spend an afternoon learning a graph before it starts saving meaningful hours.
Where it struggles is equally important. Hands, readable signage, precise product geometry, long uninterrupted actions, and multi-character interaction still demand close inspection. Video models can produce a convincing opening and then quietly break continuity by changing a jacket, prop, or face. A finished project needs an editor who notices those failures before the audience does.
A practical first project
For a first ComfyUI AI project, choose a six-shot visual sequence rather than a full film. Make it a person finding an old photograph in a room. Generate a wide shot, an over-the-shoulder frame, a close-up of the photograph, a hand detail, a reaction, and a final insert. Keep the room, wardrobe, and color direction consistent. This small exercise teaches more than endlessly generating unrelated portraits.
Save the original prompts, seeds, model names, settings, and output dates. Export selected frames into your editing application and cut them with room tone, footsteps, and a simple score. You will quickly discover which images support a sequence and which only look impressive in isolation. If a generated hand fails, replace it with a crop, a shadow, or a practical shot. The goal is not to prove that every frame came from AI. The goal is to make the scene work.
Start with one dependable workflow, then add complexity only when a real problem demands it. ComfyUI AI is a powerful instrument for creators who want control, but it will not supply taste, pacing, or responsibility. Those remain yours. A good shot is not just generated. It is chosen, shaped, and earned in the cut.