I want to be precise about what “first” means here. I’ve generated plenty of clips before this. I’ve tested camera moves, compared models, built shot libraries. What I hadn’t done — what I was avoiding, honestly — was commit to a single piece with a beginning, middle, and end that had to survive from first word to final export.
This is that project. Not a demo. Not a clip compilation. A 70-second narrative short built entirely with AI-generated footage, assembled in Resolve, finished to a deliverable file. And I’m going to document it completely: the script, the character sheet that saved the project, the 164 generations behind 41 usable clips, and every dollar I spent.
The short is called “Last Light.” A woman returns to her childhood home at dusk and finds a light on in a room that should be empty. That’s it. One character, one location, one emotional beat. I chose it because it was small enough to finish and specific enough to expose every weakness in my workflow.
The Script: Writing for the Tools I Had
The most important production decision happened before I touched a generator. I wrote a script that fit my constraints instead of writing a script and then discovering the tools couldn’t deliver it.
That means three things:
One character. Every additional character multiplies consistency problems. I’ve seen productions run into trouble trying to keep multiple characters’ identities locked across every shot. One character meant one reference sheet, one locked descriptor block, one identity to maintain.
No dialogue. I’m not ready to fight lip-sync across AI-generated shots. The film is silent except for ambient sound and a score. The story is told through framing, movement, and the character’s face.
Five shots. A 70-second film that generates 3–5x its usable footage needs a shot count small enough to iterate on without burning a month. Five shots meant five storyboards, five composition problems, five opportunities to get it wrong before I ran out of patience.
Here’s the script as I wrote it — not as a screenplay, but as a production document. Every line exists to answer a question the generator will ask later.
LAST LIGHT — shooting script
Shot 1 — Wide, exterior, dusk. A woman walks up a gravel path toward a small house. The windows are dark except for one, upper left. Camera holds static. She stops at the gate.
Shot 2 — Medium, interior, hallway. She steps inside. The house is still. Dust in the air. Camera slow push-in as she looks toward a staircase.
Shot 3 — Close-up, interior, stairwell. Her face. She’s listening. The light from upstairs falls across her cheek. Camera handheld, slight drift. She takes one step.
Shot 4 — Wide, interior, upstairs room. She enters. A lamp is on. The room is untouched — a child’s room, decades old. Camera crane up slowly, revealing the full space.
Shot 5 — Close-up, interior, same room. Her hands touch a small object on a desk. Camera static. She looks up. Cut to black.
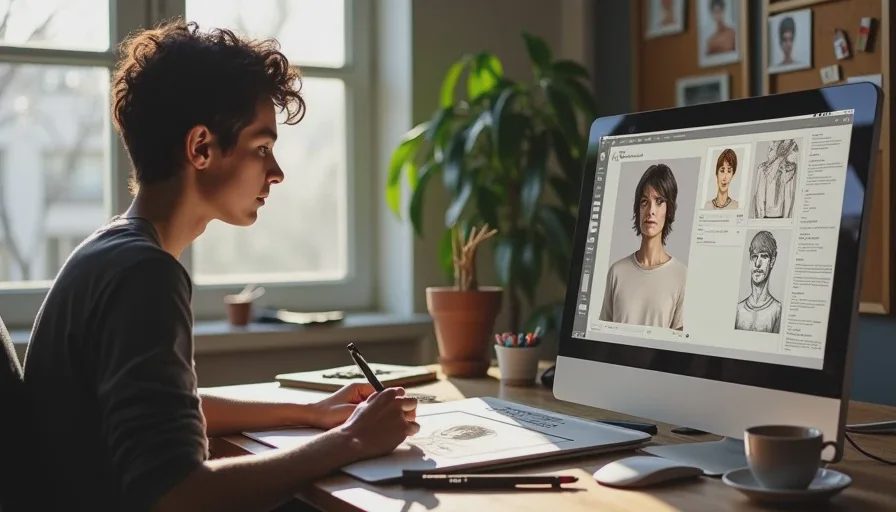
That’s the whole film. Five shots, four camera moves, one character, zero dialogue. I storyboarded each shot in Figma before generating anything — rough pencil-style panels with arrows for camera movement and notes for what the frame needed to communicate.
Pre-Production: Building the Character Before the First Generation
This is the step I would have skipped six months ago. I would have written a prompt, hit generate, and spent the next week wondering why the woman in Shot 1 looked nothing like the woman in Shot 3.
The fix is not a better model. The fix is a character sheet, locked before any video generation begins. I used an approach that’s documented across a handful of 2026 productions: build a multi-angle turnaround at 4K, lock it as the canonical reference, and attach it to every downstream generation.
Here’s the exact process I used.
Step 1: Generate the turnaround. I prompted for a single sheet showing front, side, back, and a face close-up of the character. I used GPT-Image-2 for the turnaround itself and Recraft for the face portrait that fed into it — Recraft renders pores and skin texture in a way that stops AI faces from reading as plastic.
Step 2: Remove everything held in hands. This sounds trivial. It isn’t. Props in hand cause angle-to-angle drift on the turnaround, and that drift propagates through every subsequent generation.
Step 3: Generate four options and lock one. I didn’t ship the first sheet. I asked for four variations, picked the strongest, and locked it as the canonical reference. The character I locked cost about $9.78 in generations — five attempts to get a sheet I trusted.
Step 4: Write the locked descriptor block. This is the text that goes into every prompt, verbatim. No paraphrasing. No “she has short dark hair” in one prompt and “dark, short hair” in the next. The descriptor block I used:
Woman, late 30s, 5’6”, lean build. Dark hair, shoulder-length, parted left, slight wave. Fair skin, visible pores, faint freckles across nose and cheekbones. Dark green eyes, deep-set, slight shadow under left eye. Black wool coat, open, collar up. No jewelry.
Every generation prompt started with that block, then added shot-specific action and camera direction. The character sheet was attached as an image reference to every image-to-video generation.
Step 5: Feed the sheet into image-to-video, not text-to-video. This is the single highest-leverage decision in the entire workflow. Text-to-video generates motion from description. Image-to-video generates motion from a locked visual reference. The model has something concrete to hold onto. Kling 3.0’s Element Library and Seedance 2.0’s reference-to-video both accept character references alongside location references and carry that identity across clips.
Generation: Where the Money Goes
I generated on three models, routed by shot type. Not because I’m a tool maximalist, but because no single model executed every shot type well in my testing.
Shot 1 (wide exterior, static) went to Kling 3.0. I needed a believable human walking up a path at dusk, and Kling’s motion realism for full-body action is the best I’ve tested. The shot locked on the third generation.
Shot 2 (interior hallway, slow push-in) went to Runway Gen-4.5. Camera movement was the point of this shot, and Runway’s camera controls gave me the precision to specify the push-in distance and speed. Two generations, one usable.
Shot 3 (close-up, handheld) went to Kling 3.0. Handheld micro-jitter is where Kling wins. The shot needed to feel observed, not stabilized. First generation was usable.
Shot 4 (wide, crane up) went to Luma Ray3. This was the hardest shot in the film. The crane needed to reveal the room’s full extent while maintaining the character’s position and the room’s geometry. Luma’s spatial reconstruction handled it better than Runway or Kling. Fourth generation was usable.
Shot 5 (close-up, static) went to Runway Gen-4.5. Simple shot, but I needed the character’s hands and face in the same frame without warping. Runway’s subject lock held. Two generations.
Here’s what the generation actually looked like across the whole film:
Metric | Number |
|---|---|
Total video generations | 164 |
Generations in final cut | 41 |
Selection rate | 25% |
Average generations per usable shot | 3 |
Longest single shot generation count | 11 (Shot 4, Luma crane) |
Video generation spend | $87.40 |
Image generation spend (turnarounds, references) | $12.20 |
That 25% selection rate is not a failure. It’s the documented reality of AI short film production. One animated episode generated 164 clips and used 41 in the final cut — a 25% selection rate, with an average of 3 generations per usable shot and only about 5 seconds kept from each 15-second clip. Overgeneration is a budget line, not waste.
The Three-Shot Method: How I Chained Continuity
The first assembly was a disaster. Shots that looked fine in isolation didn’t cut together. The character’s face drifted between Shot 1 and Shot 3. The lighting temperature shifted from warm to neutral between Shot 2 and Shot 4. The room’s geometry in Shot 4 didn’t match the room established in Shot 2.
The fix was what I now call the three-shot method — a chaining approach I adapted from documented multi-shot workflows. The principle is simple: the last frame of shot N becomes the first frame of shot N+1.
Here’s how it worked for “Last Light”:
Chain 1: Shot 1 → Shot 2. The last frame of Shot 1 (woman at the gate, house behind her) became the first frame of Shot 2. I fed that frame into Kling 3.0 with a prompt for her stepping inside. The model had a concrete starting image that already matched the previous shot’s lighting and wardrobe.
Chain 2: Shot 2 → Shot 3. The last frame of Shot 2 (her face turned toward the staircase, light falling across her cheek) became the first frame of Shot 3. This is where the character sheet earned its cost. Without the locked reference, Shot 3 would have generated a different face. With the sheet attached and the chained first frame, the model held the identity.
Chain 3: Shot 3 → Shot 4. This chain was the hardest. Shot 3 is a close-up. Shot 4 is a wide crane up. The visual jump is huge — the last frame of Shot 3 is her face, and the first frame of Shot 4 needs to be the room. I generated an intermediate keyframe: a wide shot of her standing at the top of the stairs, then used that as the first frame for the crane up in Luma. The intermediate frame cost two image generations and saved the shot.
Chain 4: Shot 4 → Shot 5. The last frame of Shot 4 (the room fully revealed) became the first frame of Shot 5. The camera moved from wide to close-up, but the chained frame maintained the room’s lighting and the character’s position within it.
The chaining method works because it eliminates the model’s two biggest failure modes: no memory between generations and no anchor for continuity. Every clip is an independent sample. Chaining gives each sample a parent.
Post-Production: Where the Film Actually Happens
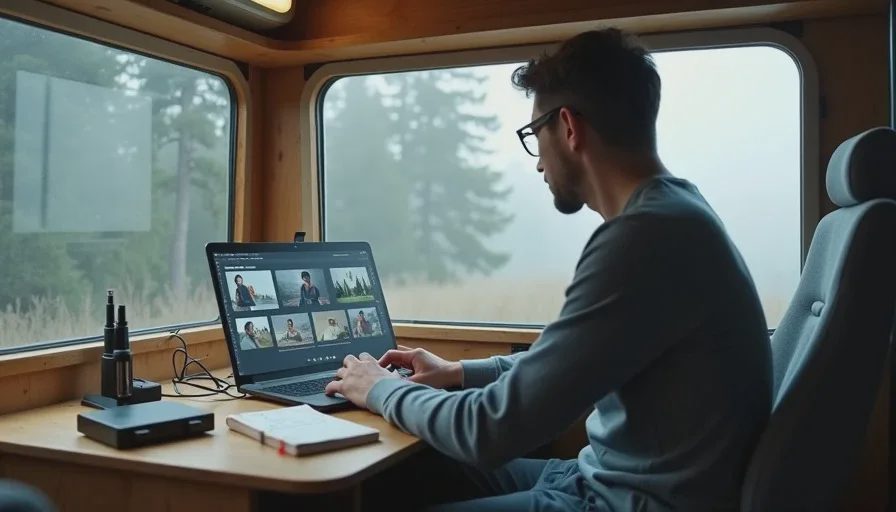
I cut in DaVinci Resolve. Free version. Five shots, one timeline, three hours of work across two sessions.
Assembly. Dropped all usable generations into a bin, sorted by shot. Laid the five chosen clips on the timeline in script order. Played it down. It was rough — the color drift was visible, and the pacing was off.
Color matching. This is the step most AI video content ignores. Each model has a different color science. Kling’s default grade is warmer than Runway’s. Luma’s shadows are cooler. I used Resolve’s color match tool to pull the clips toward a common reference frame, then made manual adjustments per shot. The goal wasn’t perfect consistency — it was a continuous visual world.
Pacing. The first assembly ran 82 seconds. The script was written for 70. I trimmed the head and tail of each shot, cutting on the character’s movement rather than at the end of the clip. This is where AI footage behaves differently from camera footage: you often only use 3–5 seconds of a 15-second clip, because the model’s motion drifts after the first beat.
Sound design. Silent film, but not silent track. I laid in ambient dusk sound (birds, distant traffic) under Shot 1, interior room tone under Shots 2–5, and a single low piano note that rises under the crane up in Shot 4. The sound carries the emotional arc the visuals suggest.
Export. H.264, 1080p, 24fps, stereo audio. Delivered as a master file and a compressed version for web.
The Full Cost Breakdown
Here’s every dollar that went into “Last Light”:
Category | Cost |
|---|---|
Character sheet generation (GPT-Image-2 + Recraft) | $12.20 |
Storyboard frames (Figma, manual) | $0 |
Video generation — Kling 3.0 (Shots 1, 3) | $24.60 |
Video generation — Runway Gen-4.5 (Shots 2, 5) | $18.40 |
Video generation — Luma Ray3 (Shot 4) | $44.40 |
Intermediate keyframe generation | $3.80 |
Upscale pass (Topaz Video AI, amortized) | ~$15.00 |
DaVinci Resolve (free version) | $0 |
Music (Artlist subscription, amortized) | ~$5.00 |
Total | ~$123.40 |
That’s $123.40 for a 70-second finished short. Normalized, that’s roughly $106 per finished minute — far below the documented AI short film range of $315–$750 per finished minute. The difference is because I’m a one-person operation with no team costs, and because I locked the character sheet before generating, which prevented the consistency re-rolls that burn most credits mid-production.
Where did the money actually go? Video generation was 71% of the total spend. That matches the documented range: video generation accounts for 70–85% of AI short film budgets. Image generation and character work was 10%. The rest was post-production tools and music.
The hidden cost nobody talks about: my time. Pre-production and script development took about six hours across three evenings. Generation and iteration took two full days. Post-production took another day. That’s roughly 25 hours for 70 seconds of film. The tool cost was $123. The time cost was the real investment.
What I Would Do Differently
I would generate the character sheet before writing the script. I wrote “Last Light” first, then built the character. That meant the script described a character I then had to create. Next time, I’ll build the character first and write for the person the tools can actually hold consistently.
I would storyboard every shot with a generated first frame before generating any video. I storyboarded in Figma, which was useful for composition, but the Figma frames didn’t match what the models could actually produce. If I’d generated a first-frame still for each shot — using the character sheet as reference — I would have caught the Shot 4 crane problem before burning 11 video generations on it.
I would budget for one more shot. Five shots in 70 seconds means each shot carries a lot of narrative weight. One more shot — a detail insert, maybe of the object she touches — would have given the edit more breathing room. The script was too lean.
I would not use three models again unless the shot demands it. Routing shots across Kling, Runway, and Luma worked, but it multiplied the color-matching work and the learning curve. For the next film, I’ll pick two models — one for motion, one for camera control — and route within that pair.
The Takeaway
The film exists. It runs 70 seconds. It has a beginning, a middle, and an ending. The character is recognizably the same person in every shot. The lighting is continuous. It exports and plays.
That sounds like a low bar. It isn’t. The gap between generating impressive clips and delivering a finished film is where most AI video projects die. A documented 2026 production generated 16,181 video clips for its first 22 minutes of runtime. Only 253 made the final cut — a 1.6% yield. My 25% selection rate is not a triumph of prompting. It’s a triumph of pre-production discipline: locking the character, chaining the shots, and refusing to generate anything until I knew what the shot needed to do.
A good shot is not just generated. It is chosen. This project taught me what that means in practice.
Frequently Asked Questions
How long does it take to make an AI short film as a solo creator?
Documented AI short films run 2–5 day timelines for finished pieces in the 70-second to 3-minute range. My 70-second film took roughly 25 hours of working time across a week, including pre-production, generation, and post. The variable is not runtime — it’s iteration discipline. Productions that lock character sheets and environment references before generating come in at the short end of that window.
Do I need multiple AI video subscriptions to make a short film?
No. One model and one editor can produce a finished short. I used three models because my testing showed each one executed different shot types better, but a single model — Runway Gen-4.5 or Kling 3.0 — can carry an entire film if you work within its strengths. The cost difference between one subscription and three is meaningful for a first project.
How do you keep the same character across shots in AI video?
The workflow that worked for me: generate a multi-angle turnaround sheet at 4K (front, side, back, face close-up), lock it as a canonical reference, write a descriptor block describing the character in obsessive detail, and attach both the sheet and the block to every generation. Feed the sheet into image-to-video, not text-to-video, and chain the last frame of each shot into the first frame of the next. LoRA fine-tuning is a deeper path if reference uploads still drift, but it’s rarely necessary at short-film scale.
What’s the biggest mistake first-time AI filmmakers make?
Generating before pre-producing. The productions that came in cheapest and finished fastest spent the most upfront time loading the script and character context into their workflow before generating a single frame. The second biggest mistake is treating a beautiful clip as a usable shot. A shot that looks good in isolation but doesn’t cut against the surrounding shots is not a shot. It’s a liability.
How much does AI short film production actually cost?
Documented productions range from $750 to $5,000 all-in, or roughly $315–$750 per finished minute, with video generation credits making up 70–85% of the spend. A solo creator with disciplined iteration can land well below that band — my 70-second film cost about $123 in tool spend. The variables are team size, shot complexity, and how many generations you burn before locking a character sheet.