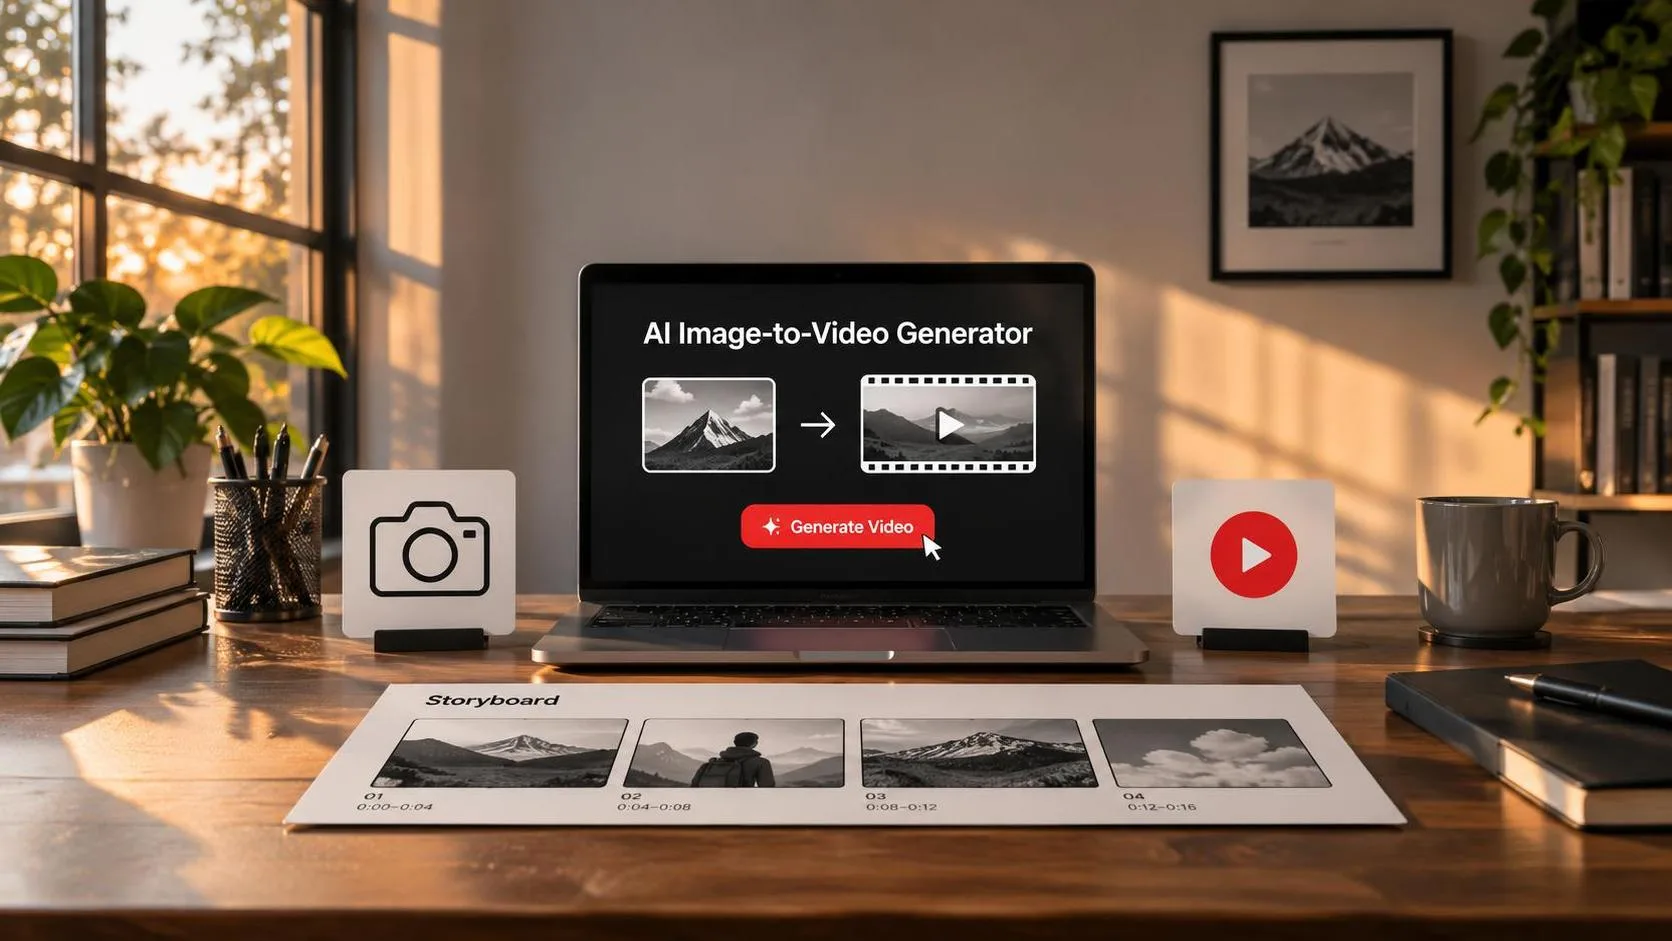
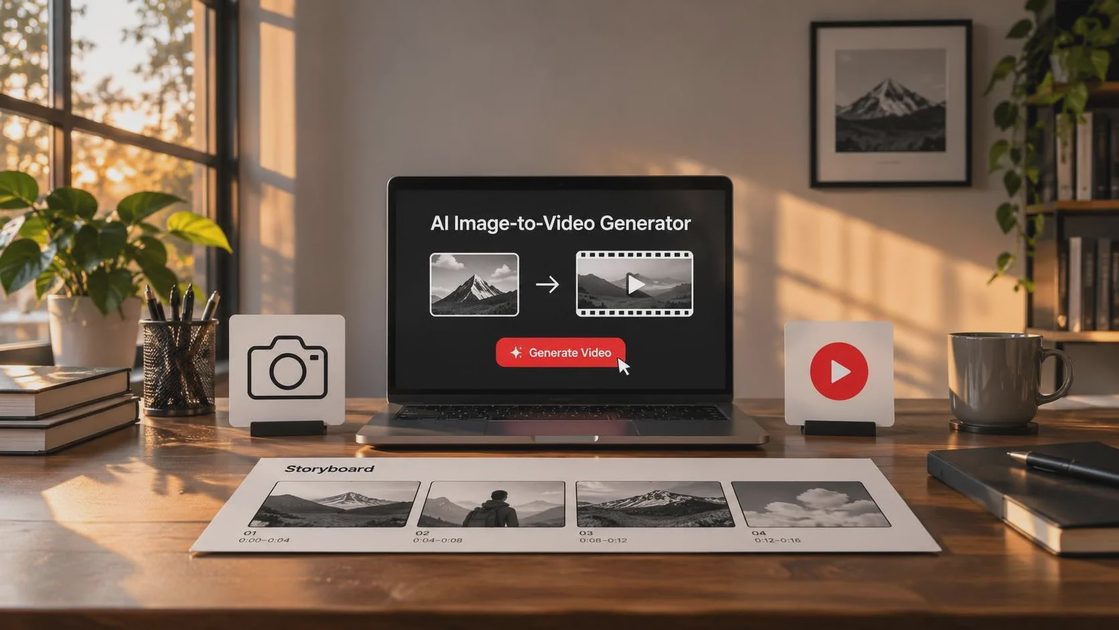
The grok ai image to video generator is interesting for one simple reason: it starts with a frame you can art-direct. Instead of asking an AI system to invent an entire scene from a sentence, you give it a visual foundation and ask for movement, atmosphere, or a small camera change. That difference matters to filmmakers, YouTubers, and visual artists who care about composition and continuity.
The demo usually looks good. Now let’s see if it survives the edit. A moving clip is only useful when the subject stays recognizable, the motion supports the story, and the result can sit beside your other footage without looking like an unrelated visual effect. Grok can help generate ideas quickly, but it does not remove the need for direction, selection, and post-production.
What the Grok AI image to video generator actually does
At its most useful, the grok ai image to video generator treats a still image as the opening state of a shot. You describe what should move and how the virtual camera should behave. A prompt such as “slow dolly toward the cabin, smoke drifting from the chimney, tall grass moving in a light breeze, overcast morning, preserve the original composition” gives the system a hierarchy of actions.
That hierarchy is important. If you ask for a character to run, the camera to whip-pan, rain to pour, lights to flash, and clouds to race across the sky, you are testing too many variables at once. Start with one primary movement and one environmental movement. A locked-off shot with flickering practical light can be more convincing than a chaotic tracking shot with warped anatomy.
The tool is best understood as a previsualization assistant, mood-film generator, and source of cutaway material. It is less reliable as a replacement for a photographed performance or a complicated action scene. Hands, faces, text, jewelry, vehicle details, and repeated patterns deserve close inspection before you build a finished sequence around them.
Build a still image that can survive motion
A weak source image creates a weak video, even when the animation looks impressive for the first second. Before using the grok ai image to video generator, inspect the frame like a cinematographer. Is the subject separated from the background? Is there enough empty space in the direction of movement? Does the lighting establish a clear time of day? Are important objects cropped at awkward points?
For a person walking from left to right, leave visual space on the right side of the frame. For a camera push-in, make sure the face is not already pressed against the edge. If the shot should feel calm, use a balanced composition, soft contrast, and restrained movement. If it should feel unstable, create that tension in the source image through angle, lighting, and negative space rather than relying entirely on random motion.
I also recommend removing readable signs and small labels unless they are essential. Generated motion can bend lettering or transform a logo between frames. Replace critical titles with clean graphics in an editor such as DaVinci Resolve, Premiere Pro, or Final Cut Pro. This takes less time than trying to rescue a distorted word.
Prompting for camera movement and continuity
The grok ai image to video generator responds more clearly when the prompt uses familiar film language. Try terms such as slow push-in, gentle crane up, locked camera, lateral tracking shot, shallow depth of field, rack focus, handheld micro-jitter, or static wide shot. Then describe the subject’s action in plain language.
A useful structure is: camera movement, subject movement, environmental movement, visual style, and restrictions. For example: “Static medium shot; the candle flame flickers while the subject remains still; rain slides down the window; natural low-key lighting; preserve facial features and clothing.” The restrictions are not magic, but they communicate what should remain stable.
Avoid stacking contradictory instructions. “Smooth handheld” can produce confused results because handheld motion implies small irregular shifts. “Fast zoom with cinematic stability” creates a similar conflict. Test a calm version first, then increase intensity. Save the strongest outputs instead of generating endlessly; too many near-duplicates can make the edit slower rather than faster.
When continuity matters, generate several shots from related stills rather than forcing one image to perform every role. A wide establishing frame, a medium subject frame, and a close detail can form a simple sequence. Match their color, light direction, and time of day in the source images before animation begins.
Where the tool helps in a real editing workflow
The grok ai image to video generator can be valuable during the stage between storyboard and final footage. Suppose I am cutting a short documentary about an abandoned theater. I might use an animated exterior still as a temporary opening, generate a slow detail of peeling paint for a transition, and create a subtle projection-light shot while planning interviews. Those clips help me test pacing before arranging a crew or renting equipment.
The same approach works for YouTube intros, album visuals, product mood boards, and social posts. Keep generated shots short and purposeful. A three-second atmospheric insert can cover a cut, establish location, or give a voiceover room to breathe. A long AI sequence often exposes continuity problems that would have stayed hidden in a quick insert.
After generation, bring the clip into your editor and evaluate it at the timeline level. Check for a distracting loop, a sudden change in object shape, a stuttering background, or motion that conflicts with the soundtrack. Add a cutaway, trim the first and last frames, or use a speed adjustment only when it improves the scene. Do not let a beautiful clip dictate the whole edit if it weakens the story.
Costs, access, and production safeguards
Access, model behavior, export options, and usage terms for the grok ai image to video generator can change as the product develops. Review the current Grok interface and applicable plan details before budgeting a client project. A free or included tier can be useful for experiments, while paid access may provide a more practical generation allowance, but the value depends on how many usable clips you obtain rather than how many buttons you can press.
Keep a simple production log. Record the source image, prompt, date, model or mode shown in the interface, and the version you exported. If a client asks where an image came from, you should be able to explain your workflow. Also confirm that you have the rights to the source image, likeness, brand elements, and music. An AI animation does not automatically clear those underlying rights.
For commercial work, save the original still and every selected export. Avoid presenting generated imagery as documentary evidence or an authentic recording. If the shot depicts a real person, location, or event in a way that could mislead viewers, label or contextualize it according to the project’s needs and platform rules.
A practical test before you publish
Use the grok ai image to video generator on three source images: a landscape, a face, and an object with repeated detail such as a bicycle or building facade. Give each one a restrained prompt first. Watch the result at full size, then watch it muted. The silent viewing test is revealing because music can disguise awkward motion and broken continuity.
Ask five questions. Does the subject remain consistent? Is the camera movement believable? Do shadows and highlights behave sensibly? Is any text still readable? Can the shot be trimmed into a useful moment? If the answer is no, revise the still or simplify the action instead of adding more adjectives.
The grok ai image to video generator is strongest when you use it as one instrument inside a larger visual process. It can turn a carefully composed still into atmosphere, movement, and editorial possibilities. It cannot choose the emotional purpose of the shot for you. That remains the filmmaker’s job.
A good shot is not just generated. It is chosen. Start with a frame worth moving, request one clear action, inspect every frame, and cut the result with the same judgment you would bring to photographed footage.
You Also Like